
Have you ever wondered what is the best method for blending colors in Procreate? There are a bunch of different tools that you can use to help you paint soft transitions in your illustrations!
Whether you are looking to create a flawless gradient or something with a bit more texture, there is a Procreate technique for you!
There are so many different techniques you can try when learning how to blend colors in Procreate.
However, one of the simplest ways to create a blended effect is by using the Smudge Tool (also known as the Blending Brush or Smudge Brush).
This tool is displayed as the pointing finger icon to the right of the Brush Tool. You can use different brushes to create different textures with your smudging.
For the smoothest transitions, use the same brush as the one you are using to paint with. Here are a few easy steps that will help you use the Smudge Tool to its full potential!


Add the colors you want to blend into your illustration.
Alpha Lock your entire layer (Tap your layer and select Alpha Lock from the fly-out menu) so that the blending doesn’t go outside of your drawing area. This will help make it look a lot cleaner!
Tap the Smudge Tool with your Apple pencil to select it and begin to blend the colors together. It can help to blend from the darkest color to the lightest.
However, you can also just blend straight from the middle for a different effect. Experiment with texture, brush size, and direction to find what works best for your illustration!
PRO TIP: Turn down the opacity on your Smudge Tool for a more subtle and easy-to-control blending effect. This will help you blend colors in Procreate more effectively.
If you need to be a little more precise with your blending, or you are used to a more traditional painterly approach to illustration, we have just the method for you!
You can blend your colors while you paint by simply using Procreate’s awesome brushes. This technique is one of my personal favorites as it does not require you to be switching back and forth between tools as often.
Here is what you need to do to start blending with your brushes:

Select the brush you would like to blend with. I personally like to use one of the more basic brushes from the painting menu.
Use the Opacity slider on the left-hand side of your screen to turn down the brush’s opacity. You can experiment here with what works best for you, but I typically just put it at around 50%.
Start blending back and forth between the colors. You can use a clipping mask for this step if you want to keep things tidy.
Use the Eye-Dropper Color Selection tool (by holding your finger over your desired color) to select some of the in-between tones created from the color blend. This will help you create a smoother effect overall, although you may still have some visible brush strokes depending on what brush you use.
Experiment with your brush size to create your desired blending effect.
Using the Brush Tool to blend can be one of the best methods for illustrating skin! Here are a few tips and tricks that are sure to help you learn how to blend skin tones.
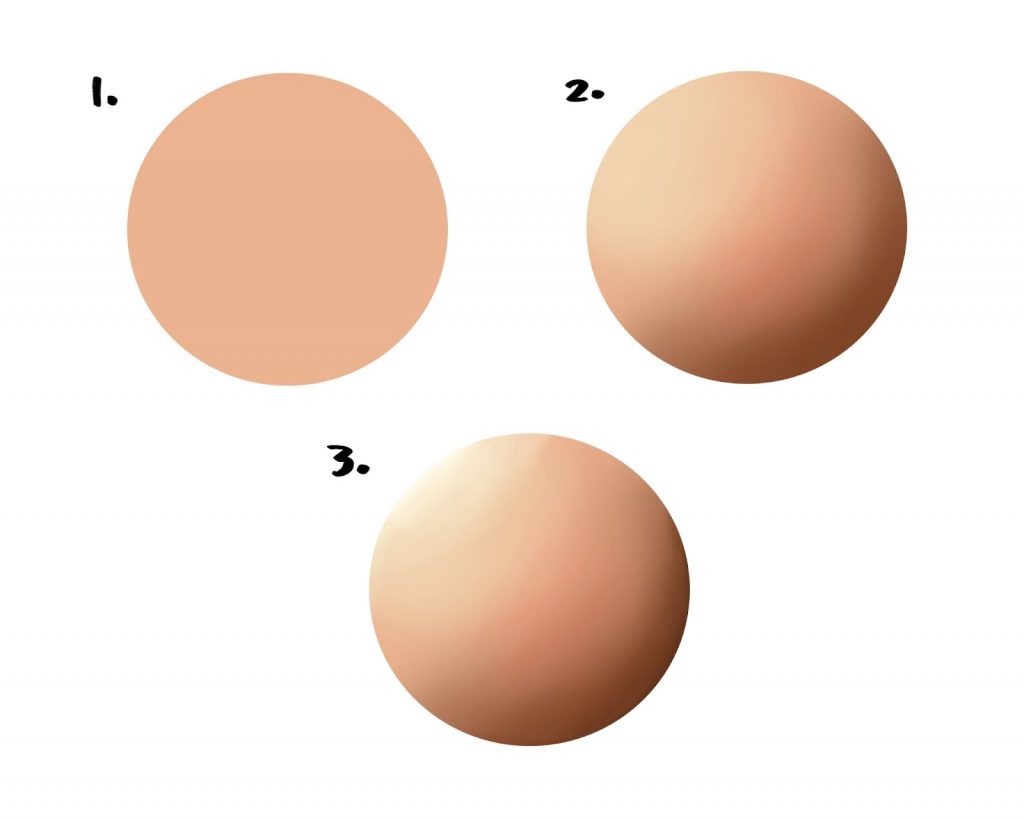
Start by using your base skin tone to fill the entire skin area.
Turn on Alpha Lock for your skin color layer.
Select the Brush tool and open up the Brush Menu. Navigate to the Airbrushing category and select the Soft Airbrush.
Use the soft brush to roughly add in the shadow and highlight areas. For my example, I have decided to use warmer tones for the shadows and cooler tones for the highlights. This brush naturally creates a simple blending effect, making it easier to introduce some color variation to your character’s skin.
Once you have finished blocking in where you want shadows and highlights, swap to a painting brush with a harder edge to add details and depth to the skin. Use a smaller brush to add edges where needed.
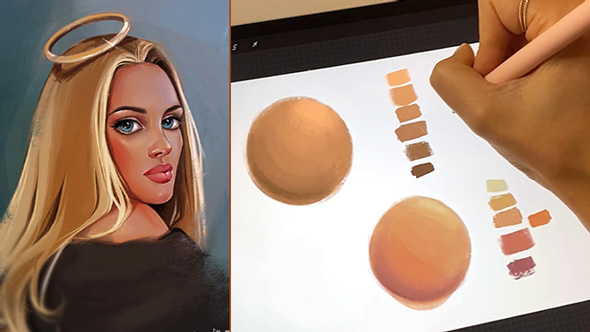
PRO TIP: During the airbrushing part of your blending, add some reddish or warm colors to your characters cheeks, ears and anywhere else you think looks good! (The color you chose for this depends entirely on your character’s skin tone so do some experimenting.)
Did you know you can use the Gaussian Blur tool as a brush? This method is great for when you want to create simple, smooth gradients out of your colors! Though it is not as precise as the other methods, it is by far the fastest of the blending techniques! Here is how you use this tool:
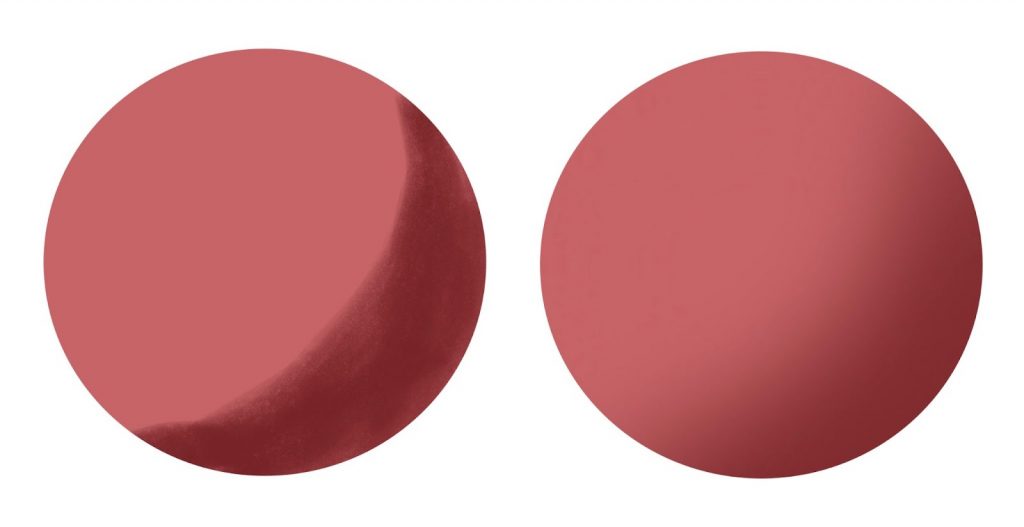
Simply select the ‘Gaussian Blur’ from the Adjustment menu and it will open up the tool.
Using the drop down arrow at the top of the tool screen, select Pencil or Layer depending on what you’d prefer for blending.
Slide your finger left-to-right across the screen to control the level of blur that is applied.
Exit the tool and enjoy your smoothly blended colors!
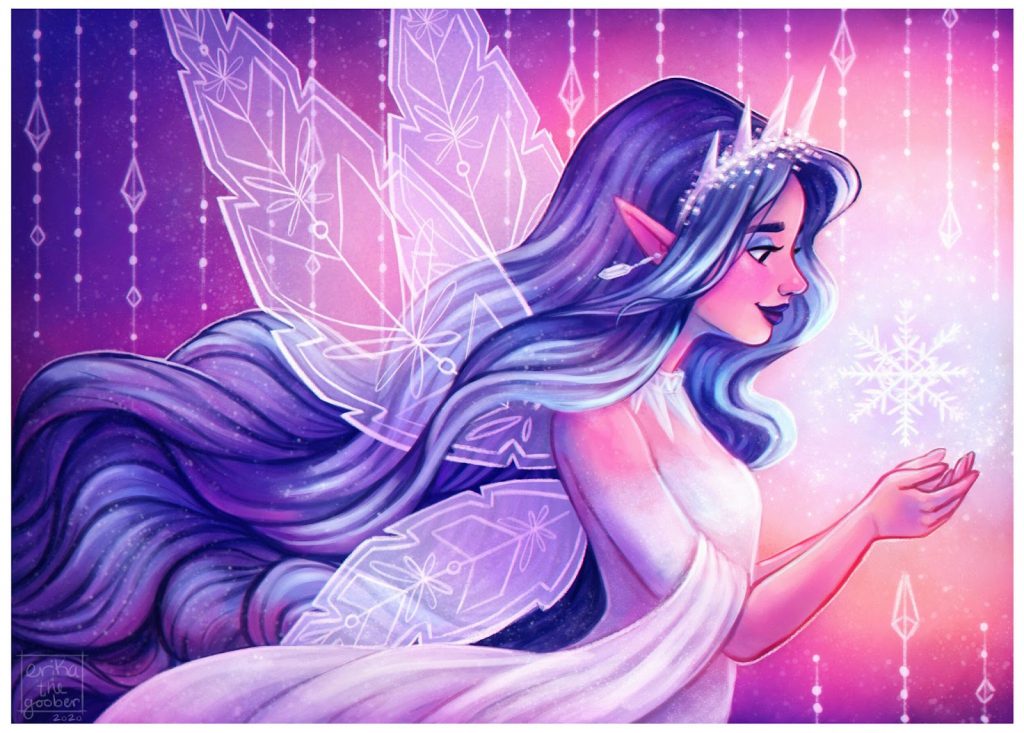
Any brush can be used to blend in Procreate, as long as it has its opacity turned down! However, there are a few blending brushes that we suggest! For a smooth look try the Soft Brush, and for a more painterly effect, experiment with some of the harder brushes from the Paint category. I recommend the Round Brush with its opacity on low!
The Smudge Tool is located in between the Brush and Eraser tools, on the top right-hand side of the app. It is displayed as a pointing hand icon.
Now that you know how to blend in Procreate, are you ready to start illustrating? Watch one of our awesome Procreate courses to help get you started!
Rhea is an Australian concept artist who is currently studying at Griffith University. She is passionate about spreading her love of art to others.
Super article merci, ça a le mérite d’être clair et bien expliqué! J avoie avoir beaucoup de mal avec cet outil qui ne fait que touiller grossièrement quand on n’en a pas l habitude, je pense qu avec des reglages bien precis on arrive a faire exactement ce qu on veut mais ce n est pas intuitif
Reply